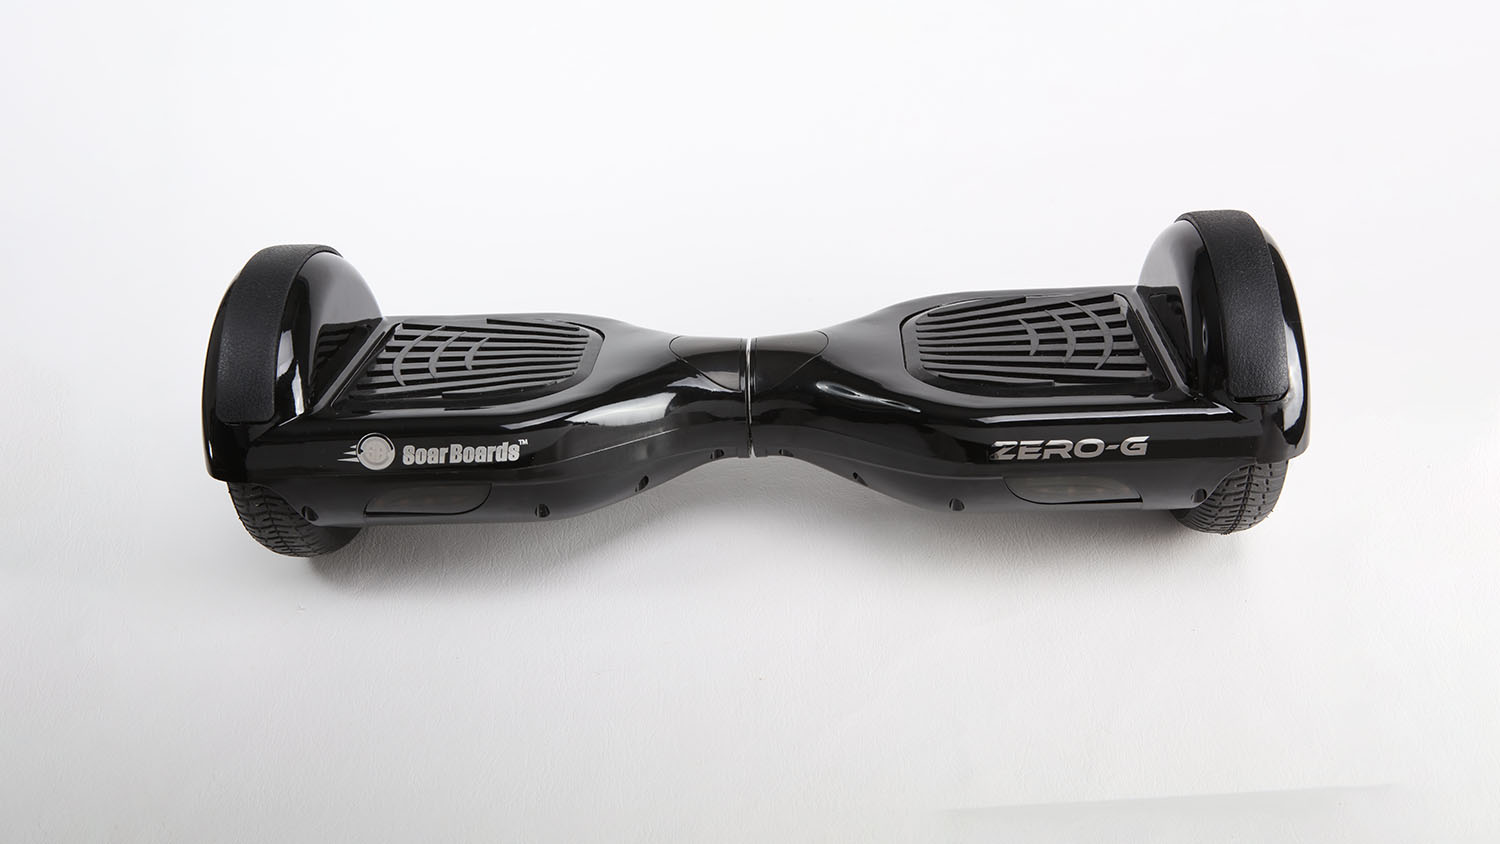
Hoverboards are nifty little gadgets. They have all these lights, buttons, and whatnot and zip around like nobody’s business. But like all things in life, they can use a little tune-up now and then. That’s where this guide comes in. You’re about to learn how to reset a hoverboard and why calibration is so vital.
Understanding Why Calibration is Essential for Hoverboards
So, why is calibration such a big deal for hoverboards? Calibration ensures that all the parts and pieces inside your board work harmoniously. If something’s off, the hoverboard could behave unpredictably, and that’s a recipe for a tumble.
No one wants to replace the gyroscope on their hoverboard if they don’t have to, right? Plus, no one wants to see their snazzy Jetson hoverboard bonk into a wall because it’s off balance. That’s why the calibration process is crucial. You power on the hoverboard, follow the steps, and you’re back to gliding in no time. Good as new, safe as houses.
The Role of Blinking Red Light and What It Means
Have you ever had your hoverboard blink at you like a mad thing? Red light flashing and all? Did you think something was going amiss? Well, you aren’t wrong. That blinking red light is your hoverboard’s way of telling you something isn’t right. It could be a bunch of stuff – loose cables, a faulty motor, a bad battery, or even those gyroscopes acting up again.
If you have hoverboard Bluetooth, that blinking light could indicate an issue there, too. The thing is, you won’t know unless you check both sides of the hoverboard. So it’s always a good idea to look out for those blinking lights.
Your Hoverboard’s Bluetooth and Battery: Resetting Procedures
While it is a task for professionals, knowing a bit about resetting your hoverboard’s Bluetooth and battery can save you time and maybe even a bit of money. Plus, if you’re good with your hands, you might enjoy the challenge.
When it comes to hoverboard calibration, Bluetooth hoverboards can be tricky. If you don’t do it right, you could fry the Bluetooth chip, and that’s not a cheap fix. So, just take your time and follow the instructions closely. If you treat your board right, it’ll treat you right. That’s the name of the game.
Resetting Your Hoverboard Battery: Steps and Tips
Okay, so maybe your hoverboard battery is acting up. The lights start flashing, it doesn’t keep a charge, or it won’t turn on. Don’t panic. It could need a simple reset that you can do in the following steps.
First, make sure your board is on a stable, flat surface.
Then, press and hold the power button. After around 10 seconds, you should hear a beep, and the lights will begin flashing. It is your hoverboard letting you know it’s entered calibration mode.
Make sure to keep the hoverboard stable for about 30 seconds. It gives it time to calibrate properly.
Once the lights stop flashing and you hear another hoverboard beep, you can release the power button. Now you’ve reset your hoverboard battery.
Not too tricky, right? But remember, like all tips and steps in this guide on how to reset a hoverboard, use safety gear to avoid any risks. Safety is always the priority.
Signs of a Drained Hoverboard Battery and Need for Replacement
As with any electronic device, your hoverboard also has its signs for when the battery is on the edge, ready to leave you stranded.
Shorter Travel Distance: If you notice your hoverboard doesn’t travel as far on a full charge as it used to, that’s a clear sign. The battery can’t hold the charge for as long as it used to.
Charging Time: Here’s another common telltale sign. If your hoverboard takes longer than usual to charge or doesn’t fully charge at all, the battery might need a replacement.
Unexpected Shutdowns: If your hoverboard shuts down out of the blue even while it shows a decent charge, you need to replace the battery.
Reduced Speed: If you’re not getting the speed you’re used to, the battery may be to blame.
Blinking Red Light: The pulsating red light is the hoverboard’s way of signaling issues with the battery.
Knowing these signs can save you from the frustration of a hoverboard going rogue. Understanding how to reset a hoverboard and replace its battery helps keep your hoverboard going for a long time.
An Overview of Resetting Hoverboard Bluetooth
Resetting Bluetooth hoverboards isn’t that different from resetting standard ones. Sure, it’s the same hoverboard calibration process, but there’s an added layer of complexity. This little risky business revolves around the Bluetooth chip.
This minuscule component might get fried during the resetting process. So, knowing how to reset a hoverboard with Bluetooth must involve caution.
Mastering the Art of Hoverboard Calibration
Before starting the calibration process, make sure to don the safety gear. The process starts with switching that hoverboard on, mounting it, and cruising around a bit. But remember, it’s not just for fun. It’s also to gauge any unwanted hassles.
Exercise those steering skills. Try turning right and left to test its turning performance. Venture up and down inclines, spin around, and make sure the hoverboard keeps you grounded. If not, replacing the gyroscope might be a possibility.
If you’re a Jetson hoverboard owner, adding a hoverboard app to your toolkit wouldn’t hurt. The trick here is to ensure the power supply is well connected to the hoverboard, put that power on the hoverboard, and connect the Jetson board to your device.
The Importance of A Flat Surface and Correct Positioning
To perform the resetting right, the surface has to be level. You can verify this by using a smartphone app. It verifies the surface level, almost like a digital spirit level. It ensures the hoverboard is reset correctly, and you’re good to go.
Make sure to have both wheels parallel to each other and a flat surface.
Navigating the Power Button During Calibration
There is nothing more frustrating than being unsure of what’s happening during the calibration process. Once you hit the power button, keep an eye out for when the lights start flashing. It is your green signal that the resetting is underway. The process usually takes around 5-10 seconds.
How to Calibrate Your Hoverboard with a Smartphone Application?
Most hoverboards these days have companion apps that you can download on your phone. These apps often have features that allow you to calibrate your hoverboard, and they’re user-friendly.
Hoverboard Specifics: Calibrating Hover 1 and Jetson Hoverboard
If you’ve got yourself a Hover 1 hoverboard, the calibration procedure isn’t much different. You just need to complete the process: turn off, press the power button, look out for the blinking lights, and the works.
But there might be specifics to your model. So, it’s always smart to check your user manual or hit up customer service if you’re unsure.
To get that hoverboard rolling like butter again, you have to calibrate it right. Follow these steps to keep it smooth:
First, press and hold that power button for about 10 seconds. You’ll hear a small beep, and the LED lights will start flashing. That means your hoverboard has entered the calibration mode.
Next, keep the hoverboard steady on a level surface for about 30 seconds.
Release the power button once those LED lights stop blinking rapidly and the hoverboard beeps again.
Checking Your Hoverboard Calibration: What’s Normal and What’s Not
It’s one thing to know how to reset a hoverboard, it’s a whole other process knowing if it’s calibrated correctly or not. A well-calibrated hoverboard won’t veer to one side, or spin out of control. Also, less beeping. If it behaves otherwise, maybe it’s time to replace the gyroscope.
For Jetson hoverboard users, recalibration might be a common issue, but don’t let that scare you off. It’s like getting an oil change for your car – just part of the routine.
Recognizing Hoverboard Signals: Beeping and Battery Life
Hoverboards are like foreign language speakers; they communicate through beeps and battery life. Understanding these signals can help you fix the problem before your hoverboard is damaged irreparably. One beep might mean it’s having a motherboard issue, and two or three beeps might be talking about circuit boards. If it’s beeping like a truck reversing, consider replacing the battery.
Most hoverboard issues can be fixed with some elbow grease, and in extreme cases, internal components can be replaced. If isn’t going your way, get help from the manufacturer for assistance.
If your hoverboard is acting all funny-like, taking an unexpected left turn while you intended to go straight, or the LED lights are flashing rapidly, it’s time to reset it.
If after resetting your hoverboard you’re still taking unexpected detours, you should contact the manufacturer for assistance.
Closing Thoughts
Regularly calibrating is a part of hoverboard maintenance. Remember, if your hoverboard is acting up, there’s always a solution if you know how to reset a hoverboard. You can always take a look at repair guides, or consider replacement parts if the issue is bigger than anticipated.
Hi! My name is Johnathan, and I am the creator of ScooterAdvice360.com. Having been riding motor scooters and bikes for over 20 years, I have picked up a few things! I ran my own scooter store in Florida, selling all manner of motor scooters, mobility scooters, hoverboards, e-scooters and accessories, from Forzas to Vipers, Hellcats to Vespas.
Here, at ScooterAdvice360.com, I want to ensure everyone has access to the information that they need to enjoy their bikes and scooters for longer.